Easy Pumpkin Fudge Recipe- Autumn Bliss
Pumpkin fudge is a delightful treat that truly captures the essence of autumn in every bite. As the crisp air arrives and leaves begin to change, there’s an undeniable craving for those comforting, spiced flavors, and this decadent confection delivers exactly that. We all seem to have a soft spot for anything pumpkin-spiced, and this pumpkin fudge recipe is no exception. What makes it so incredibly special? It’s the perfect marriage of creamy sweetness and warm, aromatic spices like cinnamon, nutmeg, and cloves, all swirled into a smooth, melt-in-your-mouth fudge. It’s the ideal centerpiece for your holiday dessert table, a thoughtful homemade gift, or simply a well-deserved indulgence after a long day. Get ready to experience the magic of pumpkin fudge that will have everyone asking for seconds!
Pumpkin Fudge: A Taste of Autumn Bliss
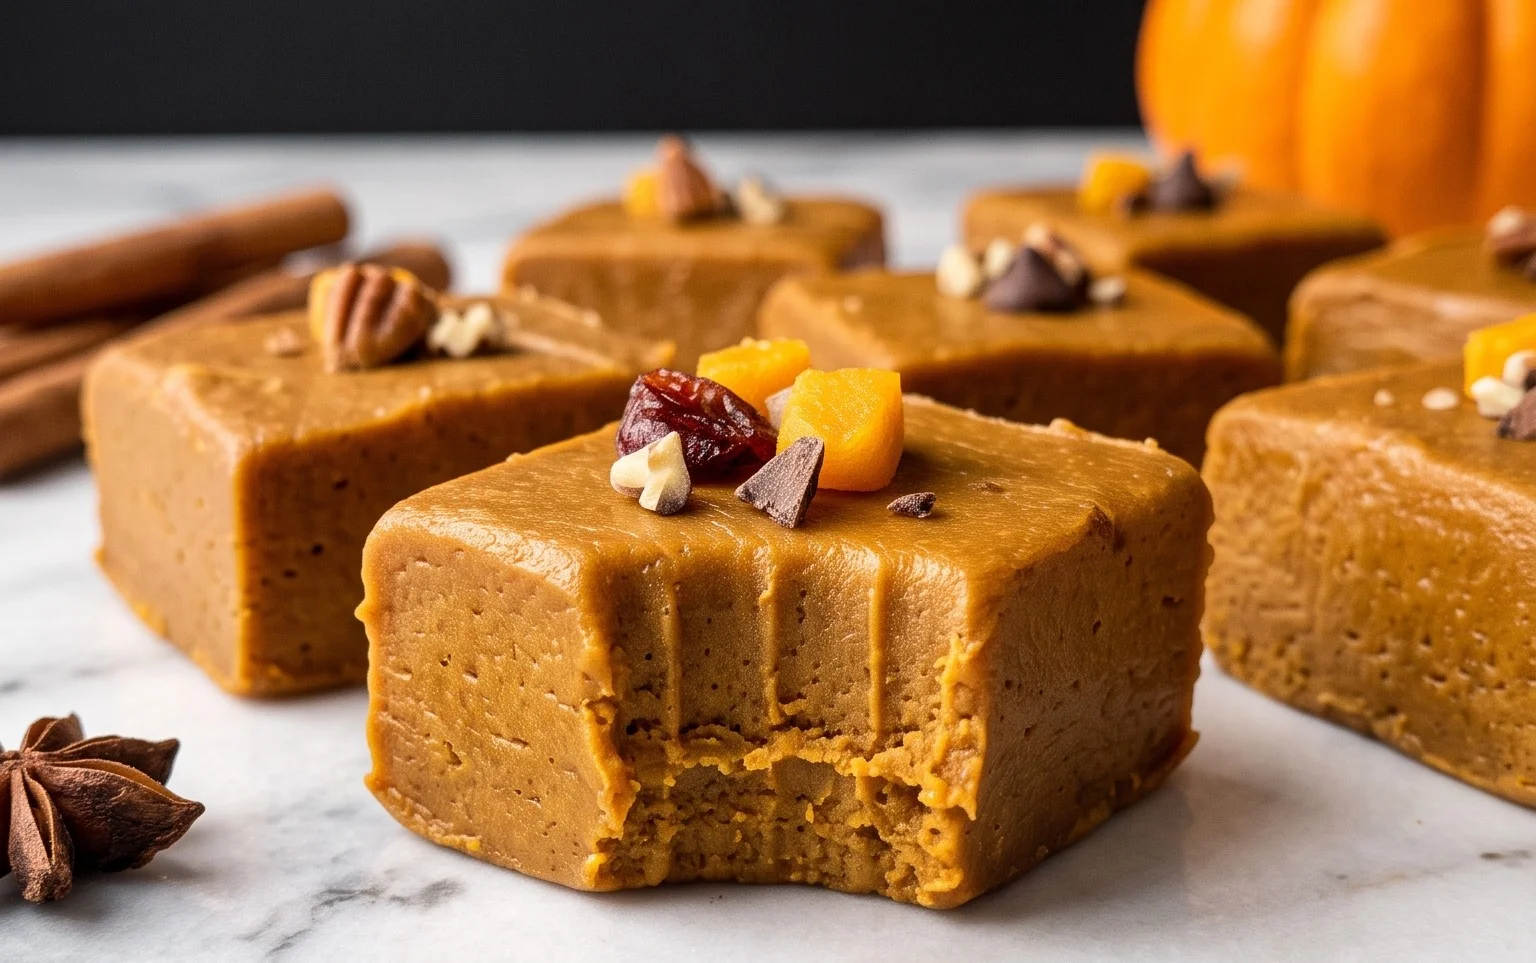
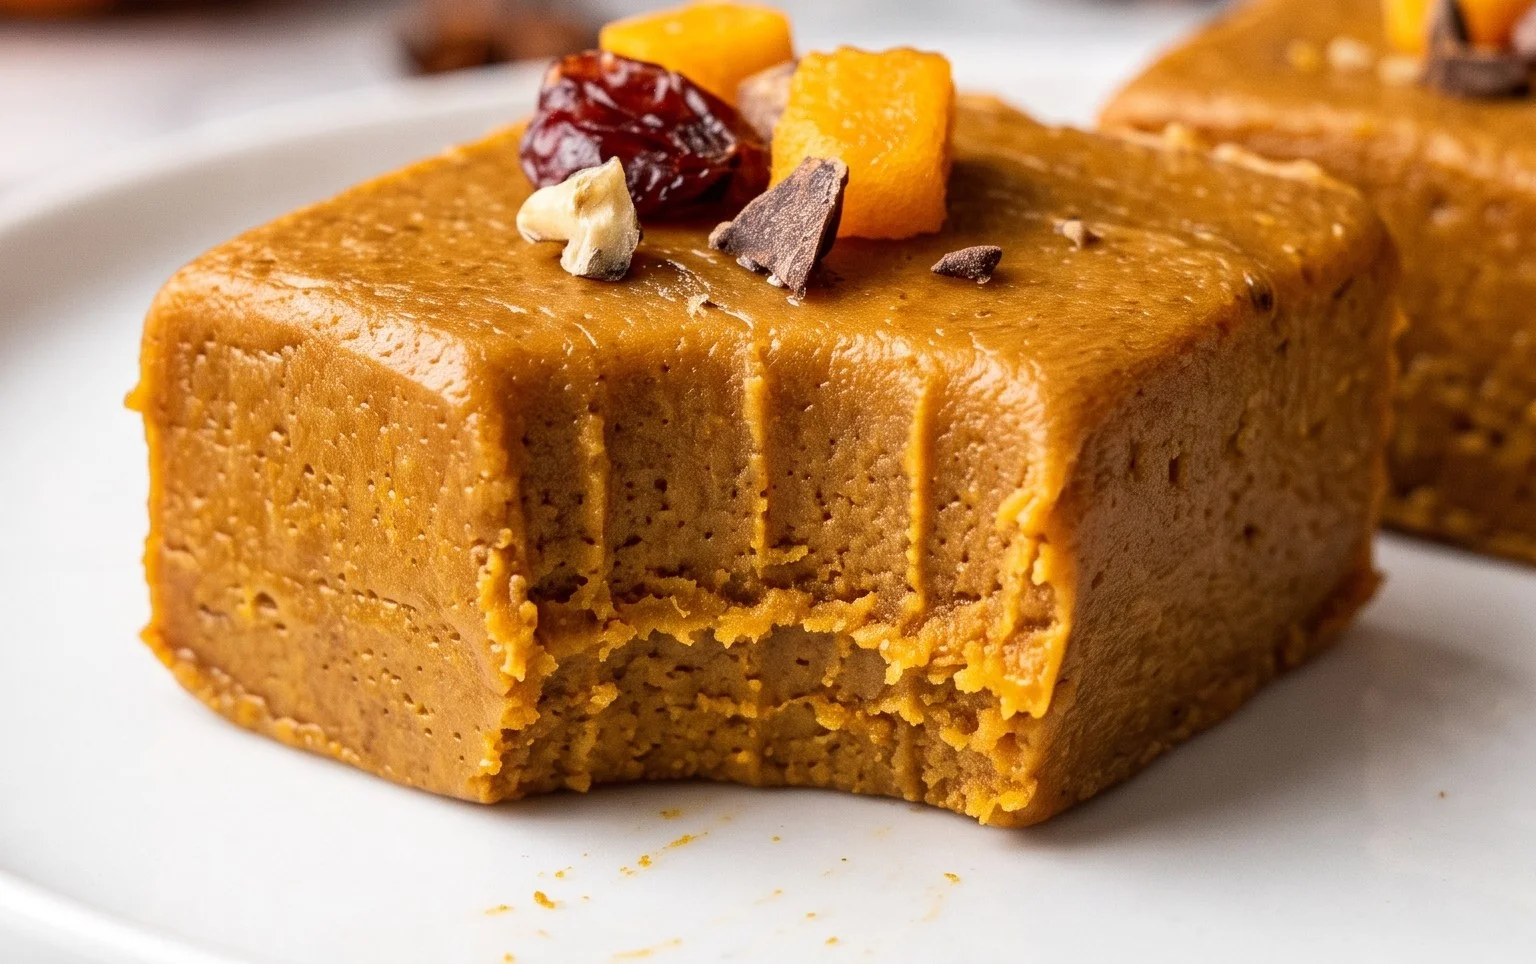
There’s something undeniably magical about fall. The crisp air, the vibrant foliage, and of course, the comforting flavors of pumpkin spice. While pumpkin pie and lattes are holiday staples, I’ve discovered a truly decadent way to embrace the season: homemade pumpkin fudge. This recipe is surprisingly simple to make, yielding a rich, creamy, and perfectly spiced treat that will have everyone asking for seconds. Forget those grainy, disappointing fudge attempts; this method guarantees a smooth, melt-in-your-mouth experience that captures the essence of autumn in every bite.
This pumpkin fudge isn’t just about taste; it’s about the experience. The aroma that fills your kitchen as it cooks is simply divine, a warm embrace of cinnamon, nutmeg, and clove that instantly evokes cozy evenings and festive gatherings. It’s the perfect treat to share with loved ones, a delightful homemade gift, or simply a personal indulgence to savor during a quiet afternoon with a warm cup of tea. I love making a batch to bring to potlucks or to have on hand for unexpected guests. It’s a crowd-pleaser, for sure!
Ingredients:
- 4 cups white chocolate chips (approximately 24 ounces by weight)
- 1 cup sweetened condensed milk (approximately 8 ounces by liquid volume)
- 2 1/2 tablespoons 100% pumpkin puree (ensure it’s not pumpkin pie filling)
- 1 teaspoon vanilla extract
- 1 teaspoon ground cinnamon
- 1/4 teaspoon ground nutmeg
- 1/8 teaspoon ground cloves
Crafting Your Autumnal Delight: The Cooking Process
This fudge comes together with a few key steps that are crucial for achieving that perfect texture and flavor. Don’t rush the process; patience is key to fudge-making success!
Phase 1: Melting the Foundation
The first step is all about creating a smooth, luscious base for our fudge. We’ll be gently melting the white chocolate chips and combining them with the sweetened condensed milk. It’s important to do this gradually to prevent the chocolate from scorching. I prefer using a double boiler method for this, which involves placing a heatproof bowl over a saucepan of simmering water. This indirect heat ensures a gentle and even melt.
1. In a medium-sized, heatproof bowl, combine the 4 cups of white chocolate chips and the 1 cup of sweetened condensed milk. Set this bowl over a saucepan filled with about an inch of water. Ensure the bottom of the bowl does not touch the water. Bring the water to a gentle simmer over medium-low heat. Stir the white chocolate and condensed milk mixture constantly with a silicone spatula or wooden spoon. It’s crucial to keep stirring to prevent the chocolate from seizing or burning on the bottom of the bowl. You’ll notice the chocolate chips will slowly begin to melt and incorporate into the condensed milk, forming a thick, glossy mixture. This process can take anywhere from 5 to 10 minutes, depending on your stovetop and the size of your bowl. Be patient and keep stirring until all the chocolate chips are completely melted and you have a smooth, homogenous mixture with no lumps.
Phase 2: Infusing the Pumpkin Spice Magic
Now comes the fun part: adding those quintessential fall flavors! This is where our pumpkin puree and spices come into play, transforming our sweet white chocolate base into a glorious pumpkin spice delight.
2. Once the white chocolate mixture is smooth and fully melted, remove the bowl from the heat (be careful, it will be hot!). Add the 2 1/2 tablespoons of 100% pumpkin puree to the bowl. Stir this in thoroughly until it is completely incorporated into the chocolate mixture. You want to ensure there are no streaks of pumpkin puree remaining. The mixture might look a little less glossy at this stage, and that’s perfectly normal. Next, add the 1 teaspoon of vanilla extract, 1 teaspoon of ground cinnamon, 1/4 teaspoon of ground nutmeg, and the 1/8 teaspoon of ground cloves. Stir vigorously until all the spices are well distributed throughout the mixture. The aroma at this point will be non-intoxicating – a true testament to the autumnal flavors you’re about to enjoy. Continue stirring for another minute or two to ensure everything is perfectly blended.
Phase 3: Setting the Stage for Sweetness
Before we can pour our fudge, we need to prepare the pan to ensure easy removal and beautiful presentation. This step is simple but vital for a clean, professional-looking fudge.
3. Prepare an 8×8 inch baking pan by lining it with parchment paper or wax paper. Make sure the paper extends slightly up the sides of the pan. This overhang will act as “handles” to help you lift the fudge out of the pan easily once it has set. You can also lightly grease the pan with butter or cooking spray before lining it with paper for extra assurance that the fudge won’t stick. Once your pan is prepared, pour the pumpkin spice white chocolate mixture into the lined pan.
Phase 4: Smoothing and Setting
This is where our fudge begins to transform from a molten mixture into a solid, delicious treat. Evenly distributing the fudge and allowing it to set properly are key to achieving that perfect texture.
4. Using your spatula, spread the fudge mixture evenly into the prepared baking pan. Try to get the top as smooth as possible. You can gently tap the pan on the counter a few times to help settle the fudge and remove any large air bubbles. This step is not strictly necessary, but it can contribute to a smoother final product. Cover the pan loosely with plastic wrap or aluminum foil. Place the pan in the refrigerator to set. It typically takes at least 2 to 4 hours for the fudge to firm up completely. You can check its firmness by gently pressing the center with your finger; it should feel firm to the touch and not sticky. For a firmer fudge, you can leave it in the refrigerator for a bit longer.
Phase 5: The Grand Finale – Cutting and Enjoying!
The moment you’ve been waiting for! Once your fudge has set, it’s time to cut it into delightful pieces and savor your homemade creation.
5. Once the fudge is completely firm, lift it out of the pan using the parchment paper overhang. Place the slab of fudge onto a cutting board. Using a sharp knife, cut the fudge into bite-sized squares. You can aim for 1-inch or 1.5-inch squares, depending on your preference. For cleaner cuts, you can warm your knife slightly under hot water and wipe it dry between cuts. Arrange your beautiful pumpkin fudge pieces on a serving platter and get ready to enjoy the taste of autumn! This fudge can be stored in an airtight container at room temperature for up to a week, or in the refrigerator for even longer. It also makes a wonderful homemade gift!
Conclusion:
There you have it – a simple yet utterly delicious recipe for homemade Pumpkin Fudge! This recipe is truly a winner because it delivers that perfect balance of creamy texture and rich, warming pumpkin spice flavor without any fuss. It’s surprisingly easy to whip up, making it ideal for both seasoned bakers and beginners looking to impress. The aroma alone while it sets is enough to fill your home with cozy autumnal vibes.
I love serving this Pumpkin Fudge cut into small squares alongside a warm mug of apple cider or a hot cup of coffee. It’s also a fantastic addition to any holiday cookie platter or as a thoughtful homemade gift. For variations, consider adding a pinch of cardamom for an extra layer of spice, or even some chopped pecans for a delightful crunch. Don’t be afraid to experiment with your favorite fall spices! I wholeheartedly encourage you to give this delightful treat a try. It’s a little bit of fall magic you can create right in your own kitchen.
Frequently Asked Questions:
How long does this Pumpkin Fudge last?
Stored in an airtight container in a cool, dry place, this Pumpkin Fudge should stay delicious for about 1 to 2 weeks. You can also refrigerate it to extend its shelf life slightly, though it might become a bit firmer.
Can I make this fudge dairy-free?
Absolutely! You can often substitute the butter with a good quality dairy-free butter alternative and use a plant-based milk (like coconut milk or almond milk) instead of evaporated milk. Ensure your white chocolate chips are also dairy-free for a completely vegan option.
Why isn’t my fudge setting properly?
Several factors can affect setting. Ensure you’re measuring your ingredients accurately, especially the sugar. Over-stirring or under-stirring at specific stages can also impact texture. Lastly, ensure your kitchen isn’t too warm, as this can prevent it from firming up correctly.
Pumpkin Fudge
A creamy and decadent pumpkin fudge perfect for fall or any time you crave a sweet treat. This recipe combines the richness of white chocolate with the warm spices of pumpkin.
Ingredients
-
4 cups white chocolate chips
-
1 cup sweetened condensed milk
-
2 1/2 tablespoons 100% pumpkin puree
-
1 teaspoon vanilla extract
-
1 teaspoon cinnamon
-
1/4 teaspoon nutmeg
-
1/8 teaspoon cloves
Instructions
-
Step 1
Line an 8×8 inch baking pan with parchment paper, leaving an overhang on the sides for easy removal. Lightly grease the parchment paper. -
Step 2
In a large microwave-safe bowl, combine the white chocolate chips and sweetened condensed milk. Microwave in 30-second intervals, stirring between each, until the chocolate is melted and smooth. -
Step 3
Stir in the pumpkin puree, vanilla extract, cinnamon, nutmeg, and cloves until well combined and the mixture is a uniform color. -
Step 4
Pour the fudge mixture into the prepared baking pan and spread it evenly. -
Step 5
Refrigerate for at least 2-3 hours, or until firm. -
Step 6
Once firm, lift the fudge out of the pan using the parchment paper overhang. Cut into small squares.
Important Information
Nutrition Facts (Per Serving)
It is important to consider this information as approximate and not to use it as definitive health advice.
Allergy Information
Please check ingredients for potential allergens and consult a health professional if in doubt.