Decadent Espresso Brownies-Rich Coffee Bliss
Espresso brownies are more than just a dessert; they are a decadent symphony of deep chocolate and invigorating coffee, a treat that speaks to the soul of any sweet tooth. We all have those moments where only something intensely rich and utterly satisfying will do, and that’s precisely where these espresso brownies shine. Imagine biting into a fudgy, intensely chocolatey square, where the subtle bitterness of dark chocolate is perfectly amplified by the bold, aromatic notes of freshly brewed espresso. It’s this harmonious marriage of flavors that makes them so utterly irresistible. Forget your average brownie; this recipe elevates the humble dessert into something truly extraordinary. The secret lies in coaxing out the deepest possible chocolate flavor while infusing it with that unmistakable espresso kick, creating a depth and complexity that will have you reaching for another piece before you’ve even finished the first.
Why You’ll Love These Espresso Brownies
A Boost of Flavor and Energy
These aren’t your average, one-note brownies. The addition of espresso powder or strong brewed coffee doesn’t just add a caffeine punch (though that’s a welcome bonus!); it unlocks a whole new dimension of chocolate flavor. The coffee’s natural bitterness cuts through the sweetness, creating a perfectly balanced bite that’s both intensely chocolatey and surprisingly complex. It’s the kind of dessert that pairs beautifully with a quiet moment or a lively gathering. They’re rich, they’re intensely satisfying, and they possess a certain sophistication that makes them feel like a special occasion treat, even on a regular Tuesday.
Espresso Brownies
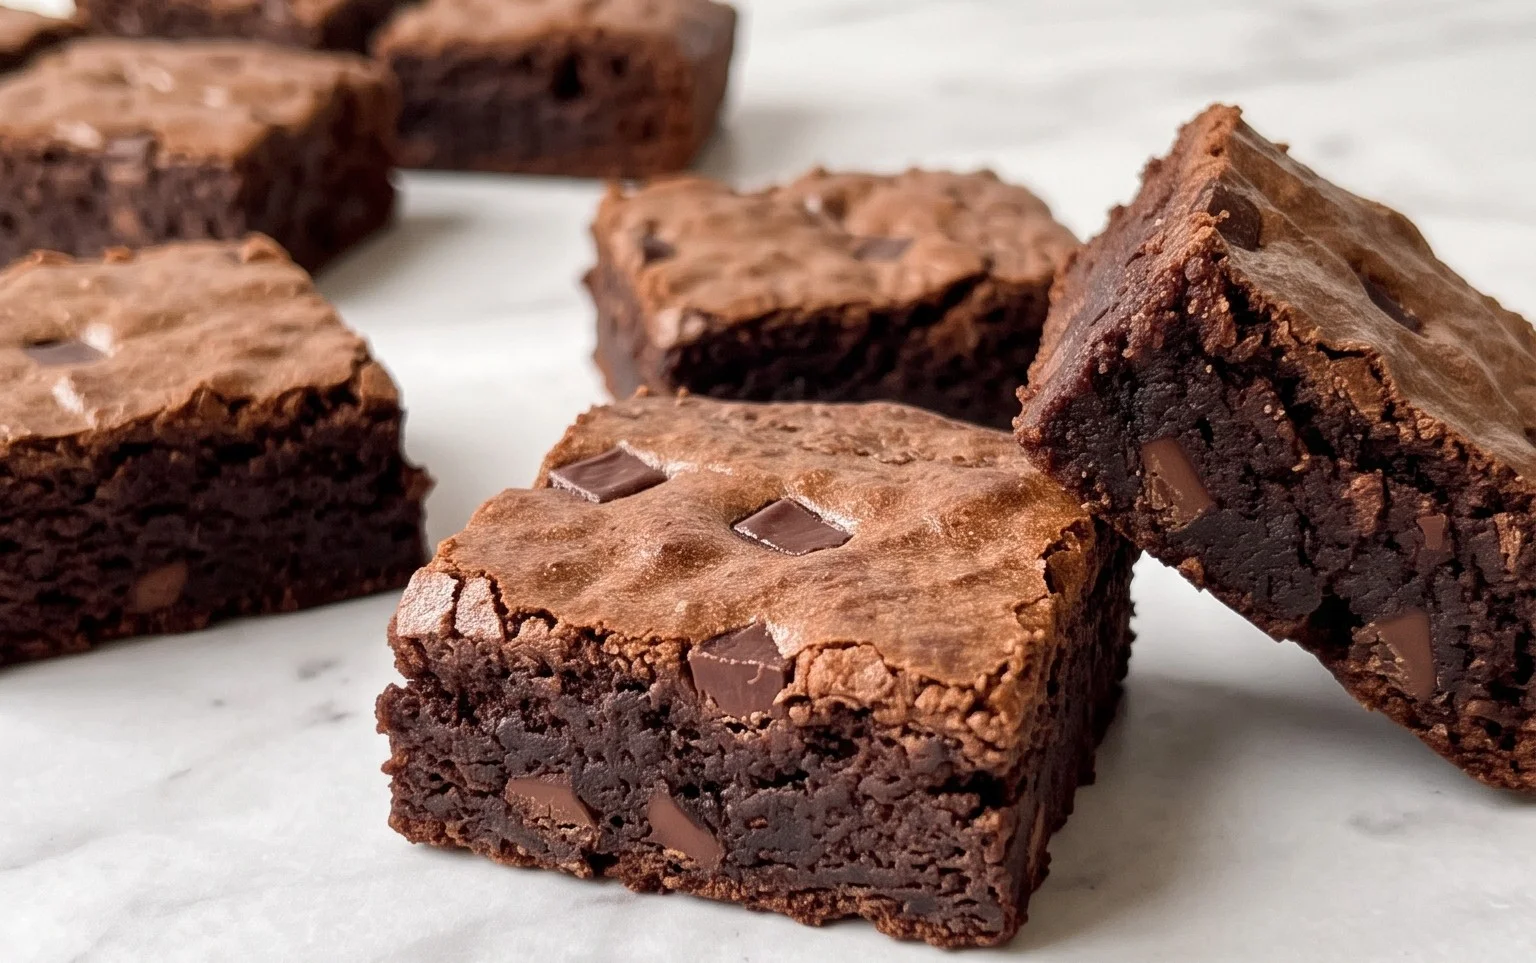
There’s something undeniably sophisticated about a truly great brownie. It’s more than just a sweet treat; it’s a rich, decadent experience. And when you add the deep, complex flavor of espresso? Well, that elevates it to a whole new level of delicious. These Espresso Brownies are my absolute go-to for a reason. The coffee doesn’t just add a subtle caffeine kick; it intensifies the chocolate flavor, creating a beautifully balanced, intensely chocolatey, and wonderfully fudgy brownie. They have a slightly crisp, crackly top that gives way to a moist, dense interior. If you’re a chocolate lover, or a coffee enthusiast, or, like me, both, then you absolutely need to try this recipe.
The secret to these brownies lies in a few key elements. Firstly, the quality of your chocolate and cocoa powder matters. Secondly, using espresso powder instead of brewed coffee ensures a concentrated coffee flavor without adding extra liquid that could alter the texture. And lastly, not over-baking them is crucial for achieving that perfect fudgy interior.
Let’s gather our ingredients. This recipe is straightforward and comes together relatively quickly, making it perfect for a weekend baking project or even a weeknight indulgence.
Ingredients:
- 1 cup unsalted butter (cold)
- 1 cup + 2 tbsp semi-sweet chocolate chips
- 1 cup all-purpose flour
- 3 tbsp dark cocoa powder
- 2 tbsp espresso powder
- 1/2 tsp salt
- 1 1/4 cups granulated sugar
- 3 large eggs
- 1/2 tbsp vanilla extract
Instructions:
- Prepare Your Workspace and Melt the Chocolate: Preheat your oven to 350°F (175°C). Line an 8×8 inch baking pan with parchment paper, leaving some overhang on the sides to help you lift the brownies out easily later. In a medium heatproof bowl set over a saucepan of simmering water (making sure the bottom of the bowl doesn’t touch the water), add the 1 cup of unsalted butter and 1 cup of the semi-sweet chocolate chips. Stir occasionally until the butter is fully melted and the chocolate is smooth and glossy. This gentle melting method prevents the chocolate from scorching. Once melted, remove the bowl from the heat and set aside to cool slightly. You can also microwave this in 30-second intervals, stirring in between, until melted.
- Combine Dry Ingredients: While the chocolate mixture is cooling, in a separate medium bowl, whisk together the all-purpose flour, dark cocoa powder, espresso powder, and salt. Whisking these dry ingredients together ensures they are evenly distributed, which is important for consistent flavor and texture throughout your brownies. The espresso powder will blend in with the cocoa, creating a deep, dark hue. Don’t worry if it looks very dark at this stage; that’s exactly what we’re aiming for!
- Mix Wet Ingredients and Combine: To the slightly cooled chocolate and butter mixture, add the granulated sugar and whisk until well combined and the mixture is smooth. Then, add the three large eggs, one at a time, whisking well after each addition. It’s important to incorporate each egg fully before adding the next. Finally, stir in the vanilla extract. You should have a rich, glossy, chocolatey batter. Now, it’s time to bring everything together. Gradually add the dry ingredients to the wet ingredients, mixing with a spatula or wooden spoon until just combined. Be careful not to overmix here; overmixing can develop the gluten in the flour, leading to tougher brownies. A few streaks of flour are okay at this point; they’ll disappear as you gently fold.
- Add Remaining Chocolate Chips and Bake: Gently fold in the remaining 2 tablespoons of semi-sweet chocolate chips. These extra chips will create pockets of melted chocolate within the fudgy brownie. Pour the batter evenly into the prepared baking pan and spread it out with your spatula, ensuring the top is relatively smooth. Place the pan in the preheated oven and bake for 25-30 minutes. The edges should be set, and a toothpick inserted into the center should come out with moist crumbs attached, not wet batter. Be very careful not to overbake, as this is the most common mistake that leads to dry brownies. The top should look slightly cracked, which is a good sign of a delicious, fudgy texture developing within.
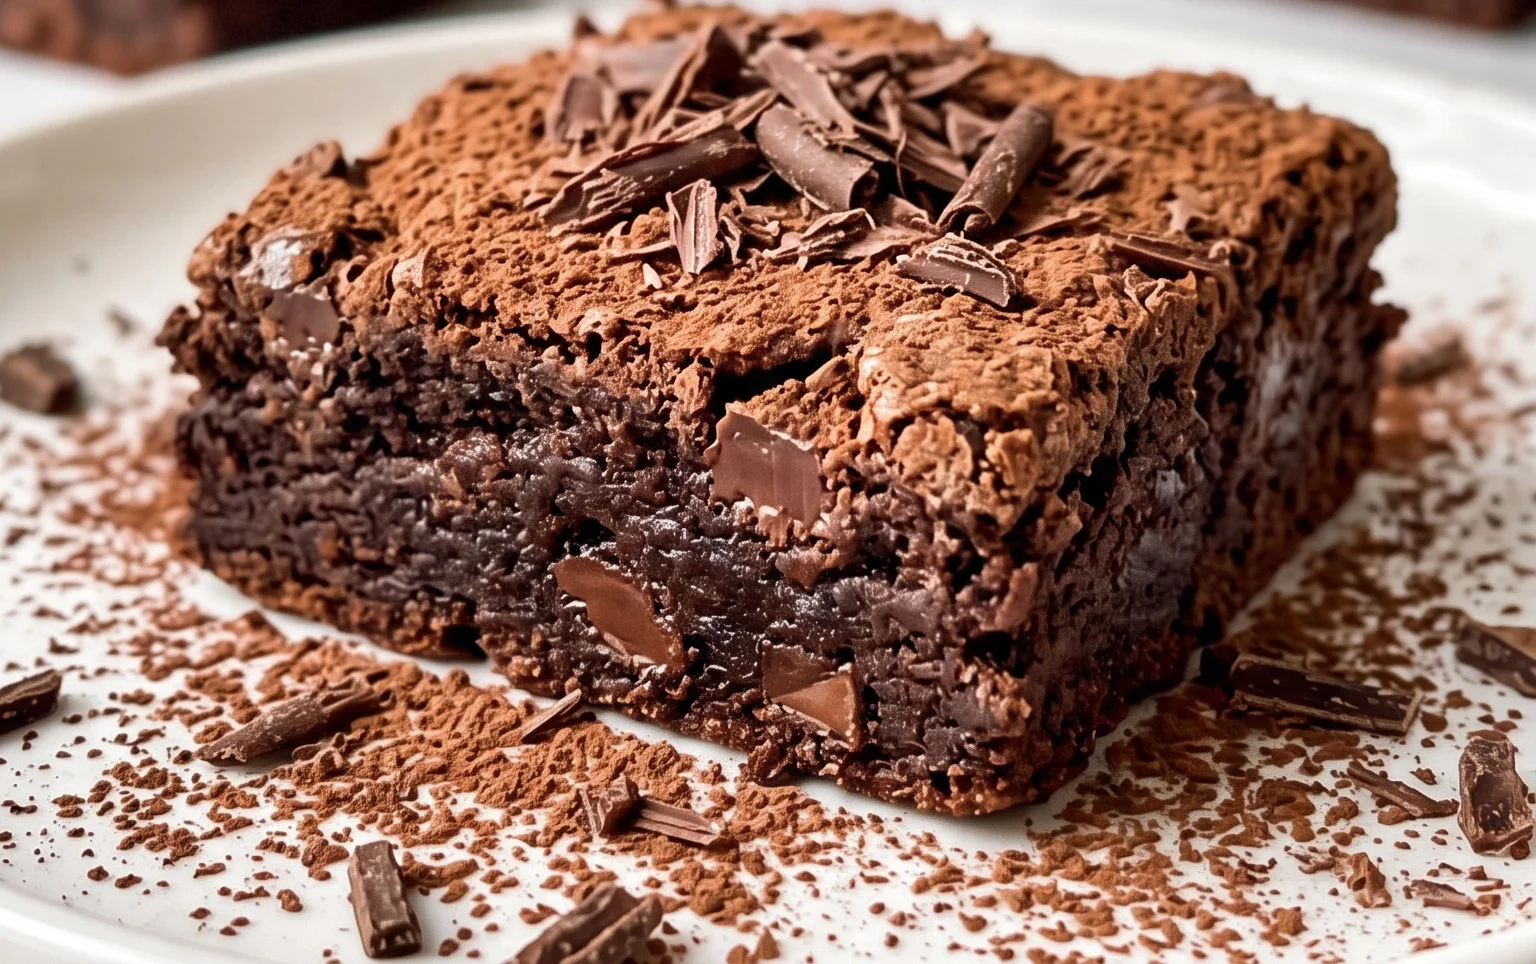
- Cool and Cut: This is arguably the hardest part: waiting! Once baked, remove the brownies from the oven and let them cool completely in the pan on a wire rack. This cooling period is crucial for the brownies to set properly and develop their dense, fudgy texture. Trying to cut them while they are still warm will result in a messy, gooey situation. Once completely cooled, use the parchment paper overhang to lift the entire block of brownies out of the pan. Place it on a cutting board and use a sharp knife to cut them into squares. For cleaner cuts, you can run your knife under hot water and dry it between each cut. These Espresso Brownies are absolutely divine served on their own, but they are also spectacular with a scoop of vanilla ice cream or a dusting of powdered sugar. Store any leftovers in an airtight container at room temperature for up to 3 days. Enjoy every rich, coffee-infused bite!
Conclusion:
I truly hope you’ve enjoyed learning how to make these incredibly rich and decadent espresso brownies! This recipe is fantastic because it strikes the perfect balance between intense chocolate flavor and a subtle, sophisticated coffee kick. The espresso powder doesn’t just add a hint of coffee; it deepens the chocolate notes, making these brownies an absolute delight for any chocolate lover. They’re surprisingly easy to whip up, making them perfect for a quick indulgence or for impressing guests with minimal fuss.
These espresso brownies are incredibly versatile when it comes to serving. They are divine on their own, perhaps with a dusting of powdered sugar or a dollop of fresh whipped cream. For an extra special treat, serve them warm with a scoop of vanilla bean ice cream for a classic lava cake-like experience. They also pair wonderfully with a strong cup of coffee or even a rich hot chocolate.
Don’t be afraid to experiment with variations! You could easily add a handful of chocolate chips (dark or milk, your choice!) to the batter for even more chocolatey goodness. A sprinkle of sea salt on top before baking can enhance the flavors beautifully. For a nutty twist, toasted walnuts or pecans would be a welcome addition.
So please, I highly encourage you to give this espresso brownie recipe a try! I’m confident you’ll be hooked by the intense flavor and satisfying texture. Happy baking!
Frequently Asked Questions:
Can I use instant coffee granules instead of espresso powder?
While you can use instant coffee granules, I strongly recommend using espresso powder for the best results. Espresso powder is finely ground and dissolves more readily, ensuring a smooth integration of coffee flavor without any gritty texture. If you must use instant coffee, dissolve about 1-2 teaspoons in 1 tablespoon of hot water before adding it to the batter, and be aware that the flavor might be slightly less intense.
How should I store these brownies?
Once cooled completely, store these espresso brownies in an airtight container at room temperature for up to 3-4 days. If you live in a warmer climate or prefer them slightly firmer, you can store them in the refrigerator. They are also excellent for freezing; wrap individual brownies tightly in plastic wrap, then place them in a freezer-safe bag or container for up to 2-3 months. Thaw them at room temperature before enjoying.
Espresso Brownies
Rich and decadent brownies infused with the bold flavor of espresso, perfect for any chocolate lover.
Ingredients
-
1 cup unsalted butter, cold
-
1 cup + 2 tbsp semi-sweet chocolate chips
-
1 cup all-purpose flour
-
3 tbsp dark cocoa powder
-
2 tbsp espresso powder
-
1/2 tsp salt
-
1 1/4 cups granulated sugar
-
3 large eggs
-
1/2 tbsp vanilla extract
Instructions
-
Step 1
Preheat oven to 350°F (175°C). Grease and flour a 9×13 inch baking pan. -
Step 2
Melt 1 cup of butter in a double boiler or microwave. Stir in 1 cup of semi-sweet chocolate chips until smooth. Remove from heat. -
Step 3
In a separate bowl, whisk together flour, cocoa powder, espresso powder, and salt. -
Step 4
In a large bowl, beat granulated sugar and eggs until well combined. Stir in vanilla extract and the melted chocolate mixture. -
Step 5
Gradually add the dry ingredients to the wet ingredients, mixing until just combined. Fold in the remaining 2 tbsp of chocolate chips. -
Step 6
Pour batter into the prepared pan and spread evenly. Bake for 25-30 minutes, or until a toothpick inserted into the center comes out with moist crumbs attached. -
Step 7
Let cool completely before cutting into squares.
Important Information
Nutrition Facts (Per Serving)
It is important to consider this information as approximate and not to use it as definitive health advice.
Allergy Information
Please check ingredients for potential allergens and consult a health professional if in doubt.