Joyful M&M Cookies – Chewy & Sparkly Treat
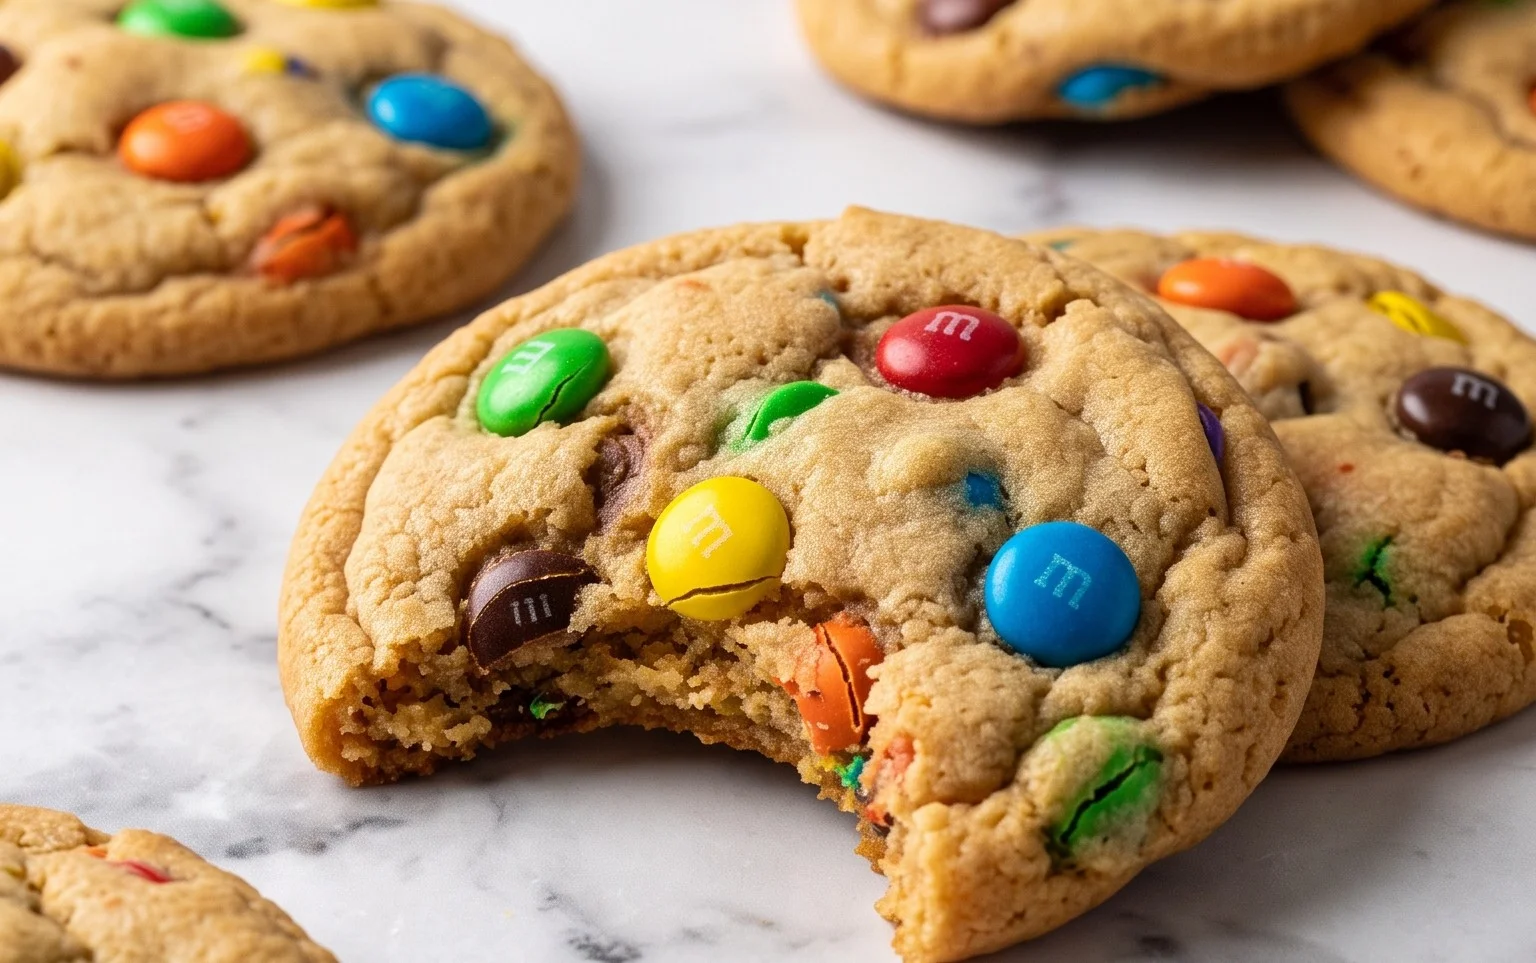
M&M Cookies are a timeless classic for a reason, and today, we’re diving headfirst into creating the ultimate batch. Who doesn’t love the delightful crunch of a perfectly baked cookie, studded with vibrant bursts of chocolatey M&M goodness? I know I certainly do! There’s a unique joy that comes from pulling a warm tray of these out of the oven, the sweet aroma filling your kitchen and promising pure, unadulterated happiness. What truly sets these M&M Cookies apart is that magical combination of chewy centers, slightly crisp edges, and the iconic candy shell that provides a satisfying pop of color and flavor with every bite. They’re more than just a treat; they’re little edible treasures that evoke childhood memories and create new ones, perfect for sharing (or devouring all by yourself!).
M&M Cookies
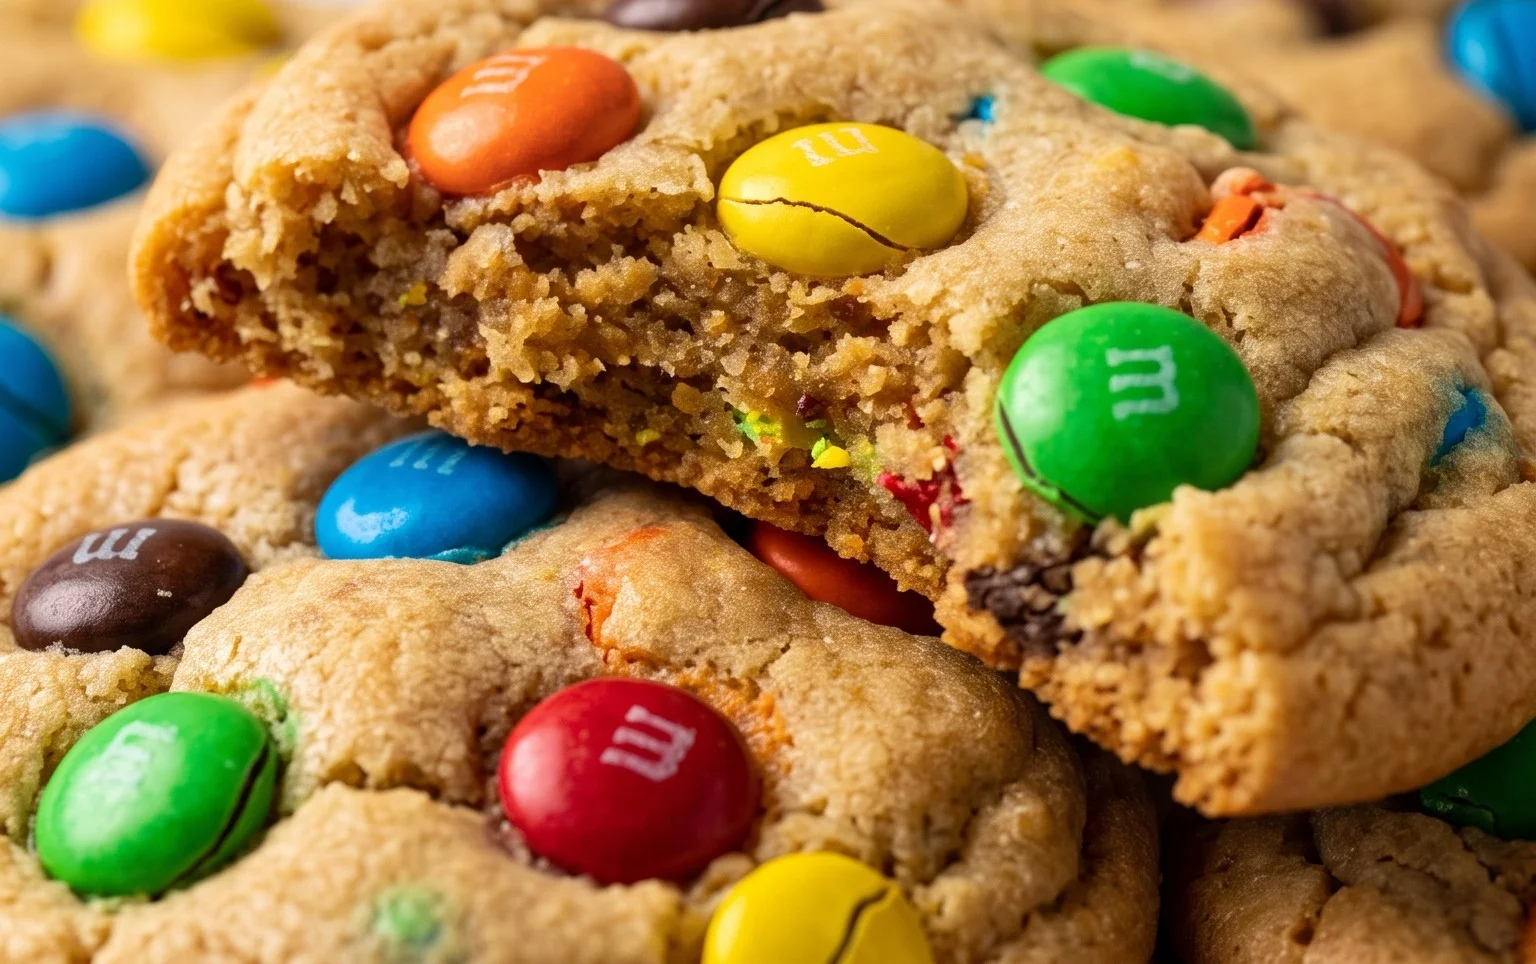
There’s something undeniably joyous about a M&M cookie. The classic chocolate chip cookie base, studded with those vibrant, candy-coated chocolates, brings an instant smile. These aren’t just cookies; they’re edible confetti, perfect for birthdays, holidays, or just a Tuesday that needs a little extra sparkle. My recipe for M&M cookies delivers that perfect balance of chewy, slightly crisp edges, and a melt-in-your-mouth interior, all bursting with chocolatey goodness. The addition of M&Ms provides a delightful crunch and a pop of color that elevates them beyond the ordinary. So, let’s get baking and create some magic!
Ingredients:
- 1 cup unsalted butter
- 1 cup lightly packed brown sugar ((200 grams))
- 1 cup granulated sugar ((200 grams))
- 2 large eggs
- 1 tsp vanilla extract
- 3 cups all purpose flour ((390 grams))
- 1 tsp salt
- 1 tsp baking soda
- 1 cup chocolate chips (I like to use a mix of semi-sweet and milk chocolate chips for depth of flavor, but you can use your favorite)
- 1 cup M&Ms (plus more for decorating the tops of the cookies)
Cooking Instructions:
Step 1: Creaming the Butter and Sugars
The foundation of any great cookie is the creaming of the butter and sugars. This step is crucial for developing that characteristic chewy texture and light, airy crumb. In a large mixing bowl, or the bowl of your stand mixer fitted with the paddle attachment, add the softened unsalted butter. Ensure your butter is softened, not melted. It should yield slightly when pressed with a finger. Then, add both the lightly packed brown sugar and the granulated sugar. Cream these together on medium speed for about 3 to 5 minutes. You’re looking for a pale, fluffy mixture that is significantly lighter in color than when you started. This process incorporates air into the dough, which will help the cookies spread and rise properly. Scrape down the sides of the bowl a couple of times during this stage to ensure everything is evenly combined. The aroma of sweet butter and sugar mingling is one of my favorite parts of baking.
Step 2: Incorporating Eggs and Vanilla
Once you have that beautifully creamed butter and sugar mixture, it’s time to add the wet ingredients. Add the two large eggs, one at a time, beating well after each addition until fully incorporated. Giving each egg a moment to emulsify into the butter mixture helps create a stable dough. After the eggs are in, stir in the teaspoon of vanilla extract. Vanilla extract is like the silent hero of baking, enhancing all the other flavors without being overpowering. It adds that classic warm, sweet aroma that we associate with homemade cookies. Make sure to mix until everything is just combined; overmixing at this stage can lead to tough cookies.
Step 3: Combining Dry Ingredients and Adding to Wet
In a separate medium bowl, whisk together the all-purpose flour, salt, and baking soda. Whisking the dry ingredients together before adding them to the wet ingredients helps to distribute the leavening agents (baking soda) and salt evenly throughout the dough, preventing pockets of saltiness or uneven rising. The salt acts as a flavor enhancer, balancing the sweetness, and the baking soda is what gives the cookies their lift and helps them spread. Now, gradually add the dry ingredients to the wet ingredients. Mix on low speed until just combined. Be careful not to overmix here; you want to avoid developing the gluten in the flour too much, as this can result in tough cookies. Stop mixing as soon as you no longer see streaks of flour.
Step 4: Folding in the Goodies
This is where the magic truly happens – adding the chocolate chips and M&Ms! Gently fold in the chocolate chips and the 1 cup of M&Ms using a spatula or wooden spoon. Again, the key here is to mix until they are just distributed throughout the dough. We’ve already done our mixing, and now we’re just incorporating these delicious additions. I love using a mix of chocolate chips because it adds different textures and chocolate flavors. And of course, the M&Ms are the star of the show, adding that fun, colorful crunch. If the dough seems a little stiff, don’t worry; that’s normal.
Step 5: Chilling and Baking
For the best results, I highly recommend chilling your cookie dough. Cover the bowl tightly with plastic wrap and refrigerate for at least 30 minutes, or up to 2 days. Chilling the dough allows the flour to hydrate fully and the flavors to meld together, resulting in a more flavorful cookie that also spreads less during baking. When you’re ready to bake, preheat your oven to 375°F (190°C). Line baking sheets with parchment paper. Scoop rounded tablespoons of the chilled dough onto the prepared baking sheets, leaving about 2 inches between cookies to allow for spreading. For that extra visual appeal, press a few extra M&Ms into the tops of each cookie before baking. This makes them look beautifully decorated right out of the oven. Bake for 9 to 11 minutes, or until the edges are golden brown and the centers are still slightly soft. They will continue to set up as they cool on the baking sheet.
Step 6: Cooling and Enjoying
Let the cookies cool on the baking sheets for about 5 minutes before transferring them to a wire rack to cool completely. This resting period on the hot baking sheet is important for the cookies to finish baking through and firm up properly. Once they’ve cooled completely, admire your handiwork and then… enjoy! These M&M cookies are absolutely divine when they are still slightly warm and the chocolate is melty, but they also store beautifully in an airtight container at room temperature for several days. They’re perfect with a glass of milk, a cup of coffee, or just on their own for a sweet treat. Happy baking!
Conclusion:
And there you have it – the ultimate guide to creating perfect M&M cookies! This recipe is a guaranteed crowd-pleaser, delivering that irresistible combination of chewy centers, slightly crisp edges, and a delightful burst of chocolatey goodness from the M&Ms. It’s wonderfully straightforward, making it ideal for bakers of all skill levels, from seasoned pros to those just starting their baking adventures. The aroma filling your kitchen as these bake is simply heavenly, and the taste is pure nostalgic joy. They’re fantastic on their own, of course, but also wonderful served warm with a glass of cold milk, or perhaps alongside a scoop of vanilla ice cream for an extra decadent treat.
Don’t be afraid to get creative! You can easily swap out the classic M&Ms for peanut butter M&Ms, mini M&Ms, or even chopped chocolate for a different twist. Adding a sprinkle of sea salt on top before baking can elevate the flavors even further. I truly hope you give this M&M cookie recipe a try. It’s a recipe that brings smiles and happiness, and I’m confident it will become a cherished favorite in your baking repertoire.
Frequently Asked Questions:
How do I store M&M cookies?
To keep your M&M cookies fresh and delicious, store them in an airtight container at room temperature for up to 3-4 days. If you want to extend their freshness, you can freeze baked cookies in a freezer-safe bag for up to 2-3 months. You can also freeze the cookie dough before baking.
Can I make these cookies dairy-free or gluten-free?
Absolutely! For a dairy-free version, use plant-based butter and ensure your M&Ms are dairy-free (some varieties are!). For a gluten-free option, substitute a good quality gluten-free all-purpose flour blend for the regular flour. You may need to slightly adjust the baking time depending on the gluten-free flour used.
M&M Cookies
Classic chewy chocolate chip cookies loaded with colorful M&Ms.
Ingredients
-
1 cup unsalted butter
-
1 cup lightly packed brown sugar
-
1 cup granulated sugar
-
2 eggs
-
1 tsp vanilla
-
3 cups all purpose flour
-
1 tsp salt
-
1 tsp baking soda
-
1 cup chocolate chips
-
1 cup M&Ms
Instructions
-
Step 1
Preheat oven to 375°F (190°C). Line baking sheets with parchment paper. -
Step 2
In a large bowl, cream together the softened butter, brown sugar, and granulated sugar until light and fluffy. -
Step 3
Beat in the eggs one at a time, then stir in the vanilla extract. -
Step 4
In a separate bowl, whisk together the flour, salt, and baking soda. -
Step 5
Gradually add the dry ingredients to the wet ingredients, mixing until just combined. Do not overmix. -
Step 6
Stir in the chocolate chips and M&Ms. -
Step 7
Drop rounded tablespoons of dough onto the prepared baking sheets, about 2 inches apart. Add a few extra M&Ms to the top of each cookie for decoration. -
Step 8
Bake for 9-11 minutes, or until the edges are golden brown and the centers are still slightly soft. -
Step 9
Let the cookies cool on the baking sheets for a few minutes before transferring them to a wire rack to cool completely.
Important Information
Nutrition Facts (Per Serving)
It is important to consider this information as approximate and not to use it as definitive health advice.
Allergy Information
Please check ingredients for potential allergens and consult a health professional if in doubt.